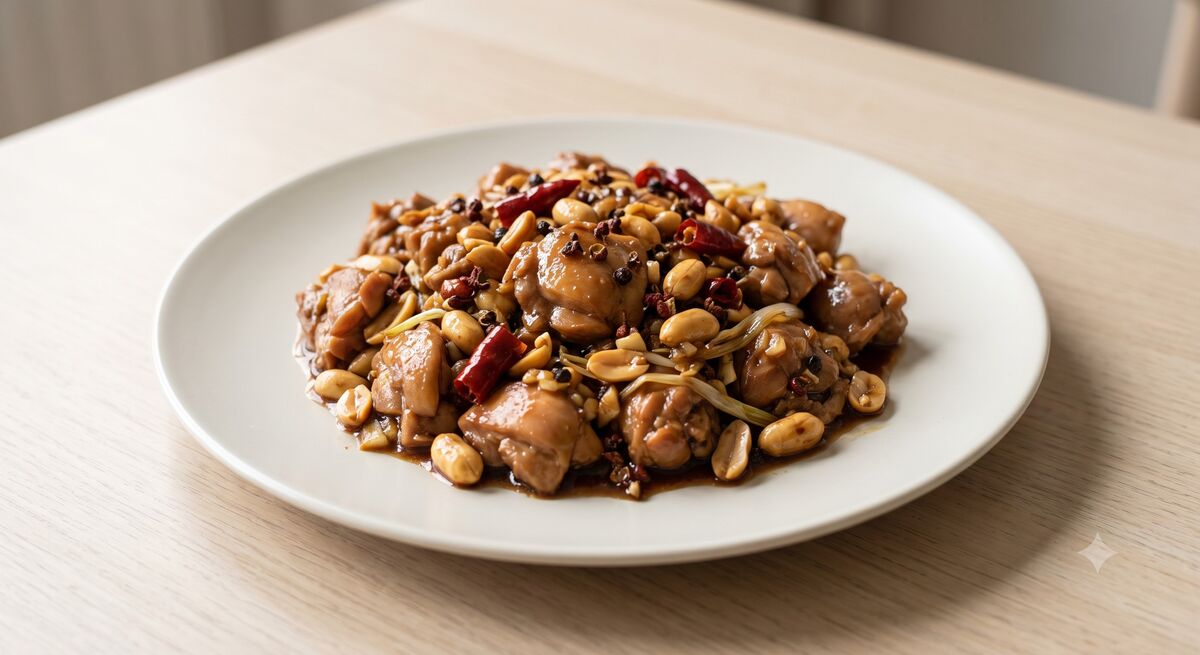
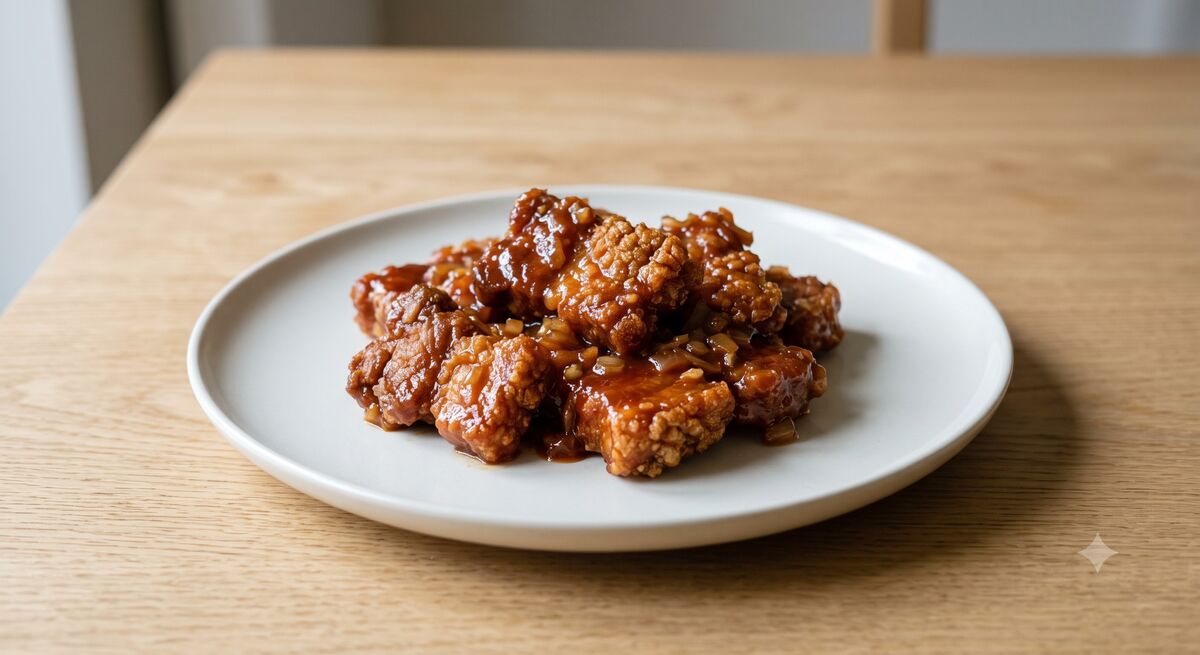
Sweet and Sour Pork
This recipe delivers exceptionally crispy sweet and sour pork using traditional Chinese techniques like double dredging and double frying, paired with a perfectly balanced sauce that avoids excessive sweetness.
Even easier in the app? Open in the app
Preparation
- 1 Step 1
Cut the pork scotch into bite-sized cubes.
- 2 Step 2
In a bowl, combine the pork with 0.5 tsp baking soda, 1 tbsp cornflour, 2 cloves grated garlic, 1 tbsp grated ginger, 0.25 grated onion, and 1 tbsp soy sauce.
- 3 Step 3
Let the pork marinate in the refrigerator for 30 minutes.
Timer · 30 min - 4 Step 4
Prepare the sauce by mixing 0.5 cup ketchup, 0.25 cup cider vinegar, 0.33 cup sugar, 1 tsp Worcestershire sauce, 2 tbsp oyster sauce, 1 tbsp soy sauce, and 0.5 cup pineapple juice in a small bowl.
- 5 Step 5
Whisk 1 tbsp cornflour into the sauce mixture until smooth.
- 6 Step 6
Coat the marinated pork thoroughly in extra cornflour for the first dredge.
- 7 Step 7
Dip the coated pork into water quickly and dredge again in cornflour for the second layer.
- 8 Step 8
Heat 3 cups of oil in a wok or deep pan to 180°C.
- 9 Step 9
Fry the pork in batches until golden brown, about 3 minutes per batch.
Timer · 3 min - 10 Step 10
Remove the pork and let it drain on a wire rack or paper towels.
- 11 Step 11
Reheat the oil and deep fry the pork a second time for 1 minute to ensure extra crispiness.
Timer · 1 min - 12 Step 12
Drain the pork again.
- 13 Step 13
Pour the sauce mixture into a clean pan and cook over medium heat until thickened, about 2 minutes.
Timer · 2 min - 14 Step 14
Add 227 g drained pineapple pieces to the thickened sauce.
- 15 Step 15
Toss the crispy pork into the sauce and coat evenly before serving immediately.
Reviews
You might also like
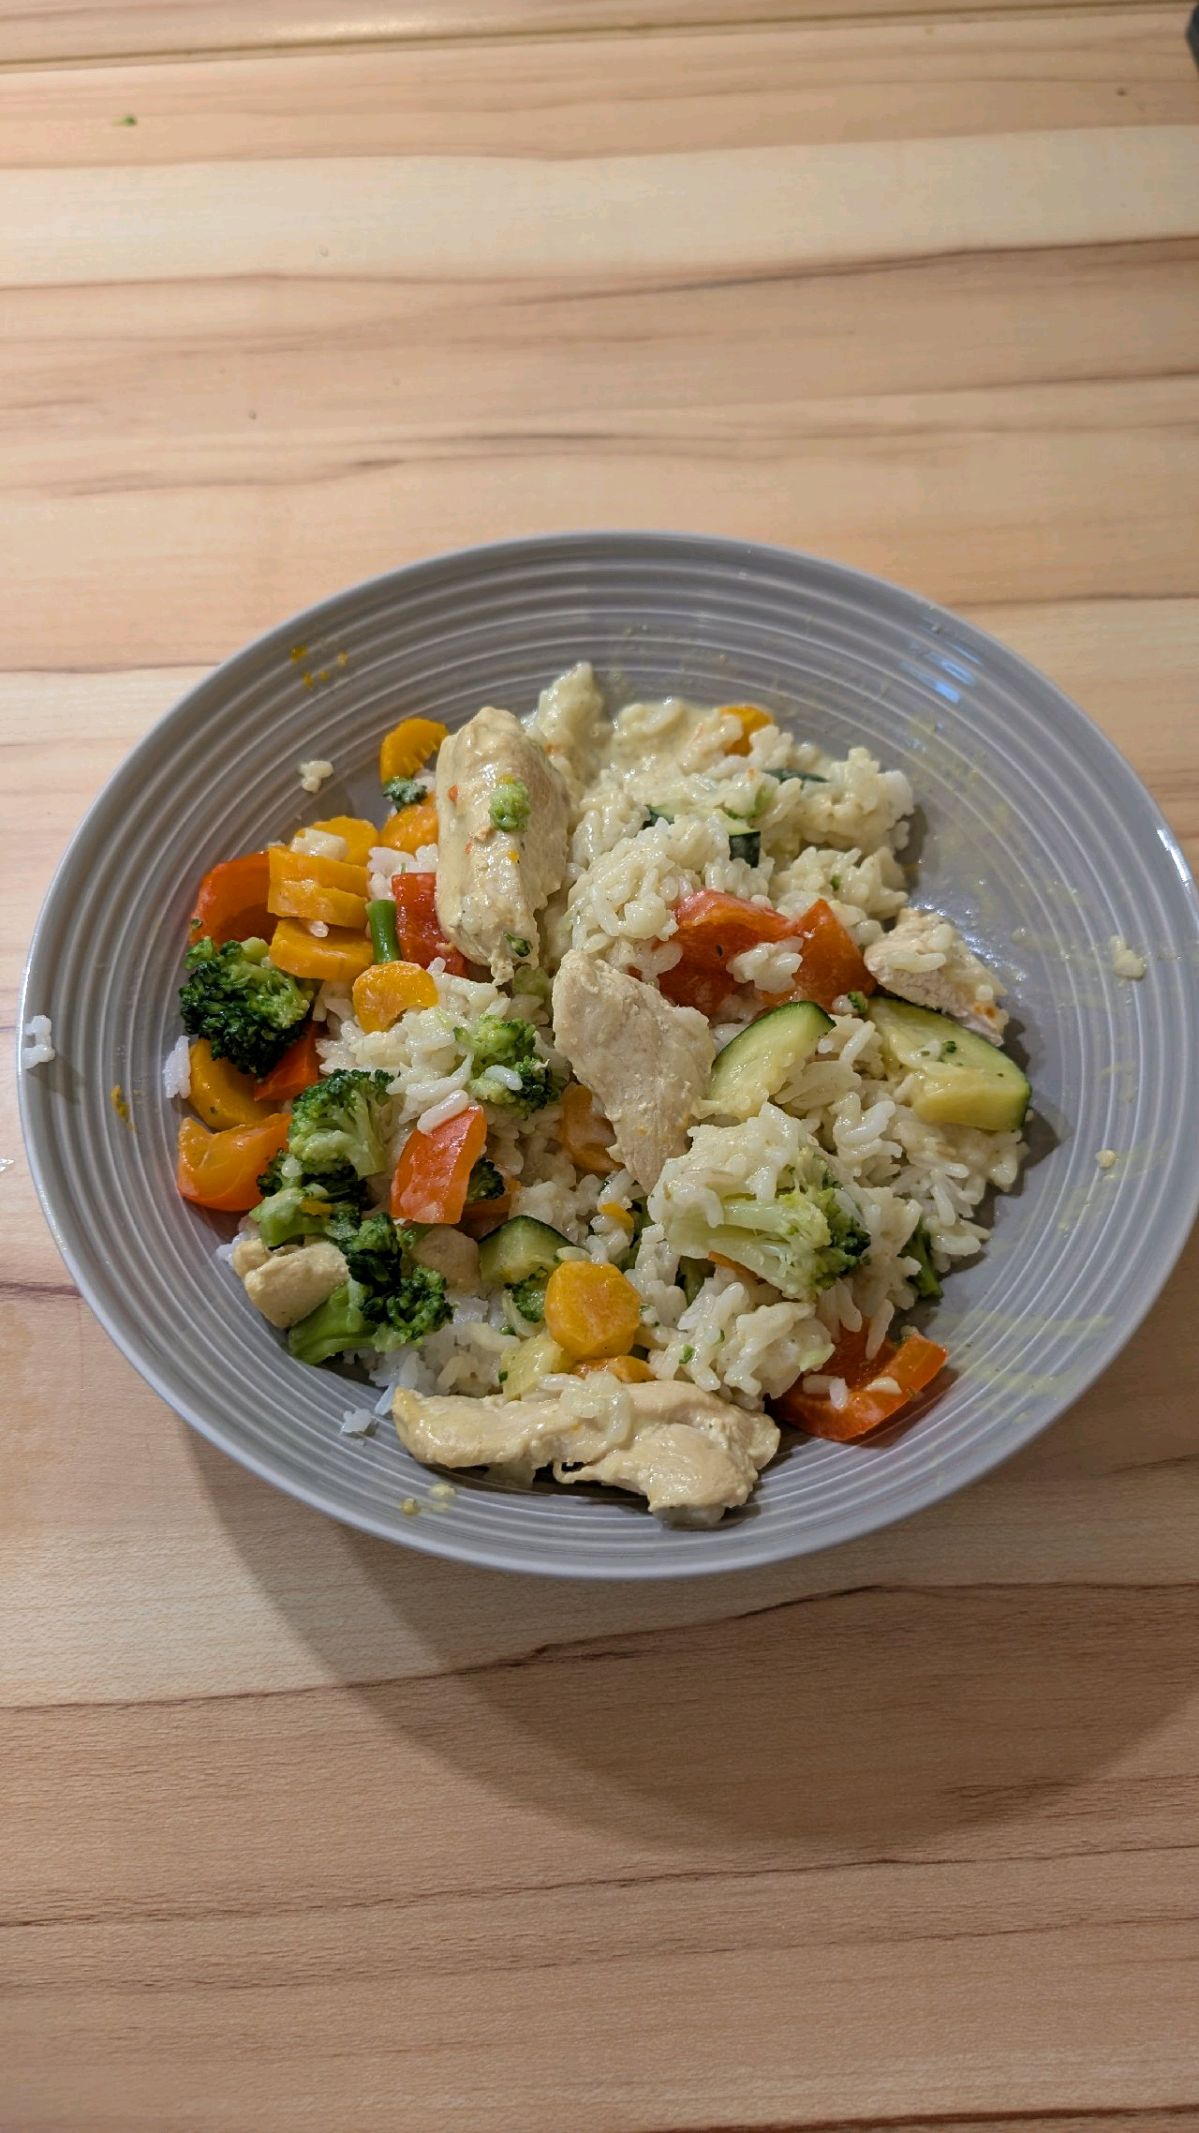
Chicken Curry with Coconut Milk
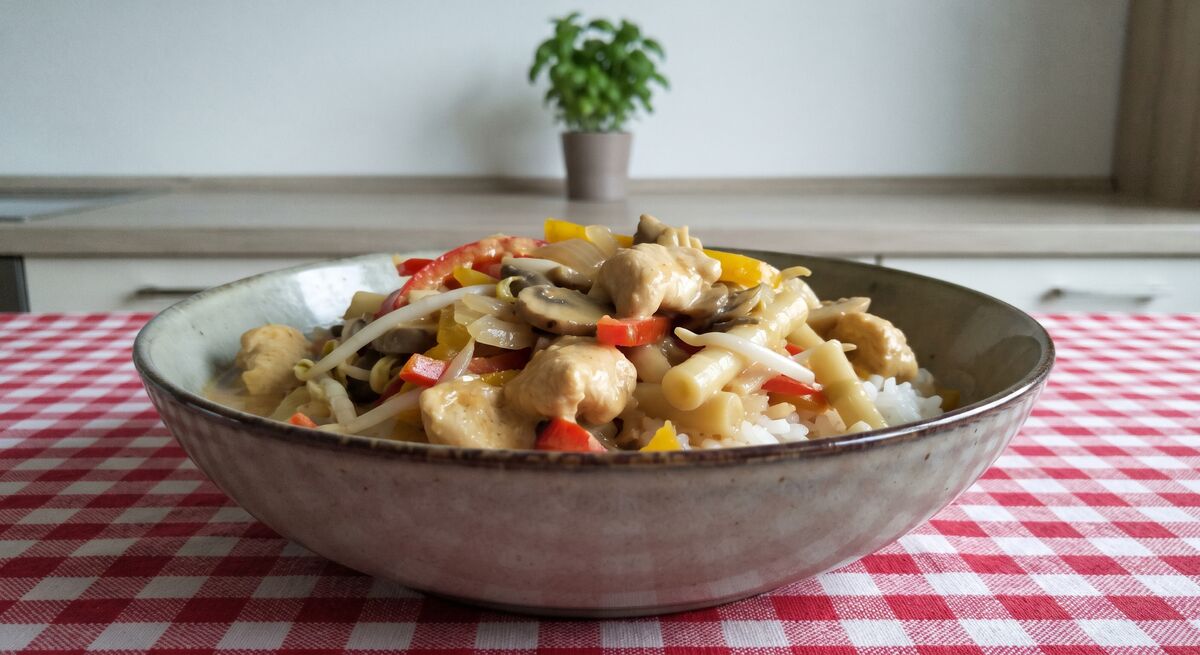
Thai Curry
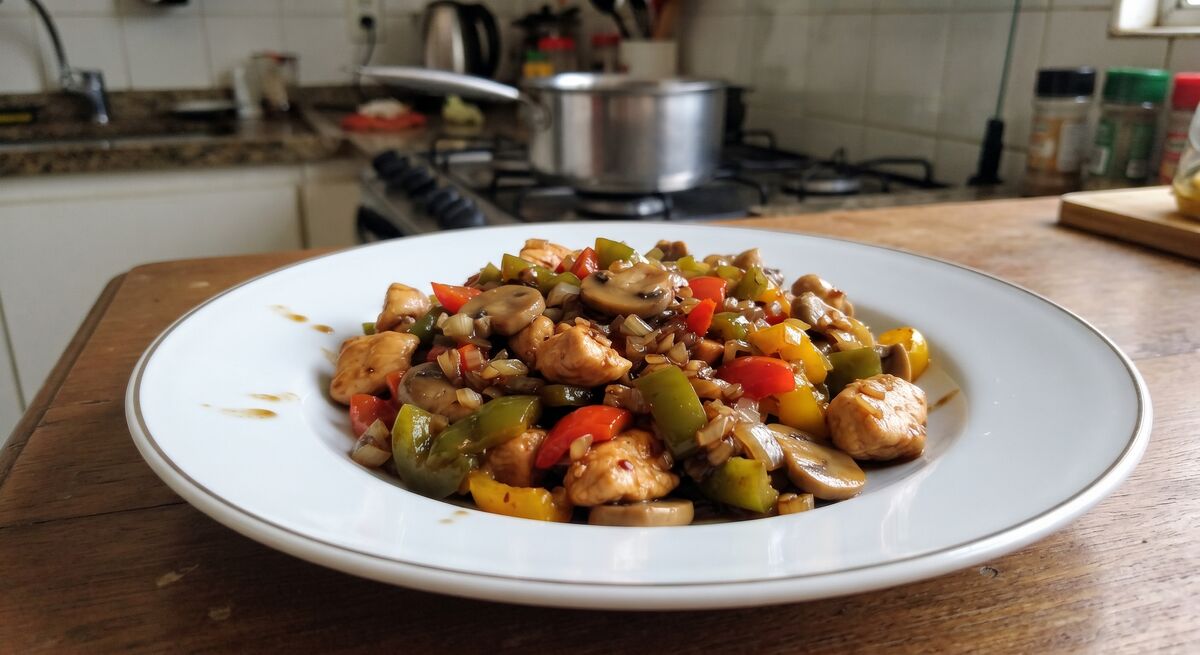
Kung Pao Chicken
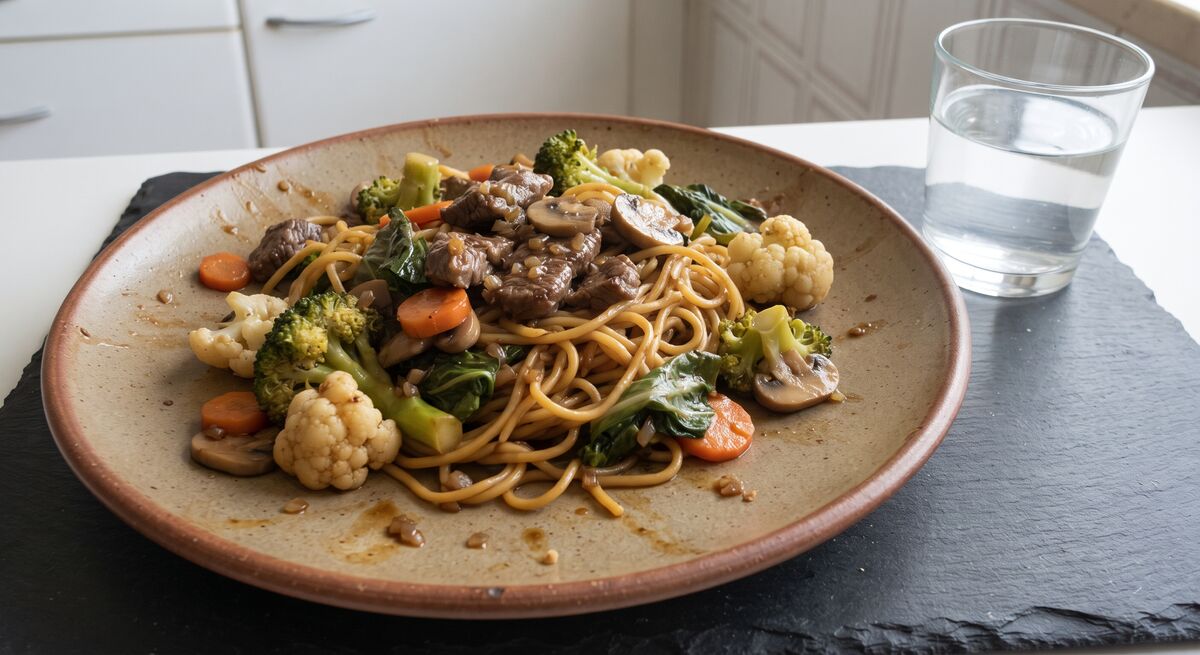
House Yakisoba
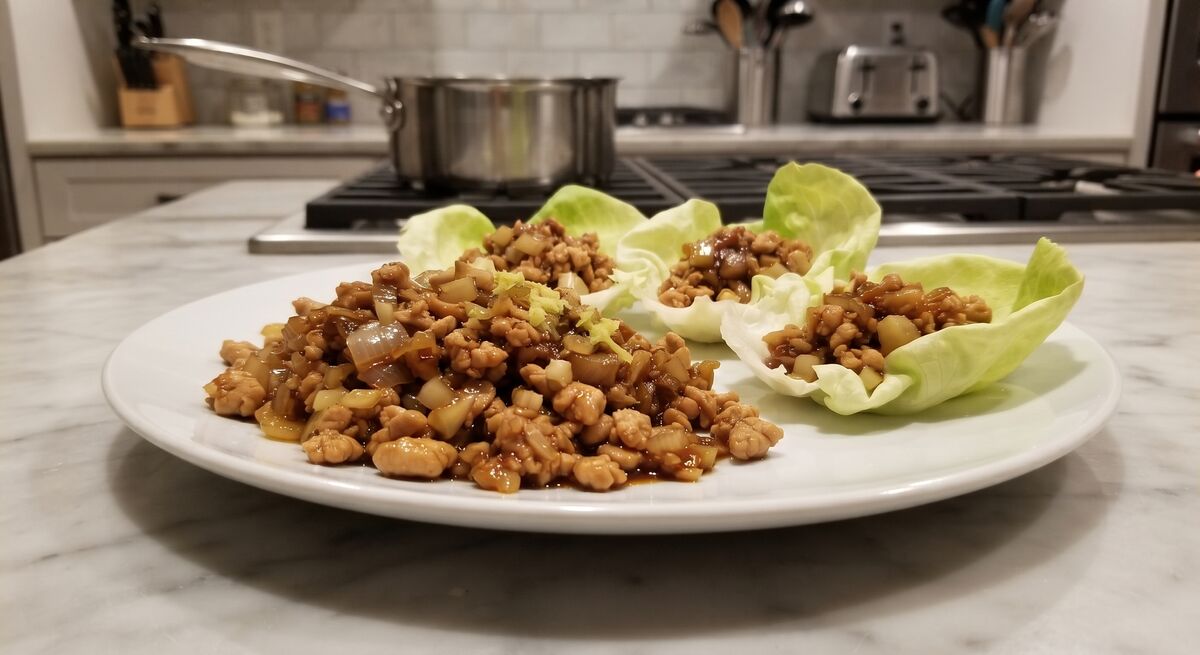
Chicken Lettuce Wraps (P.F. Chang's Style)
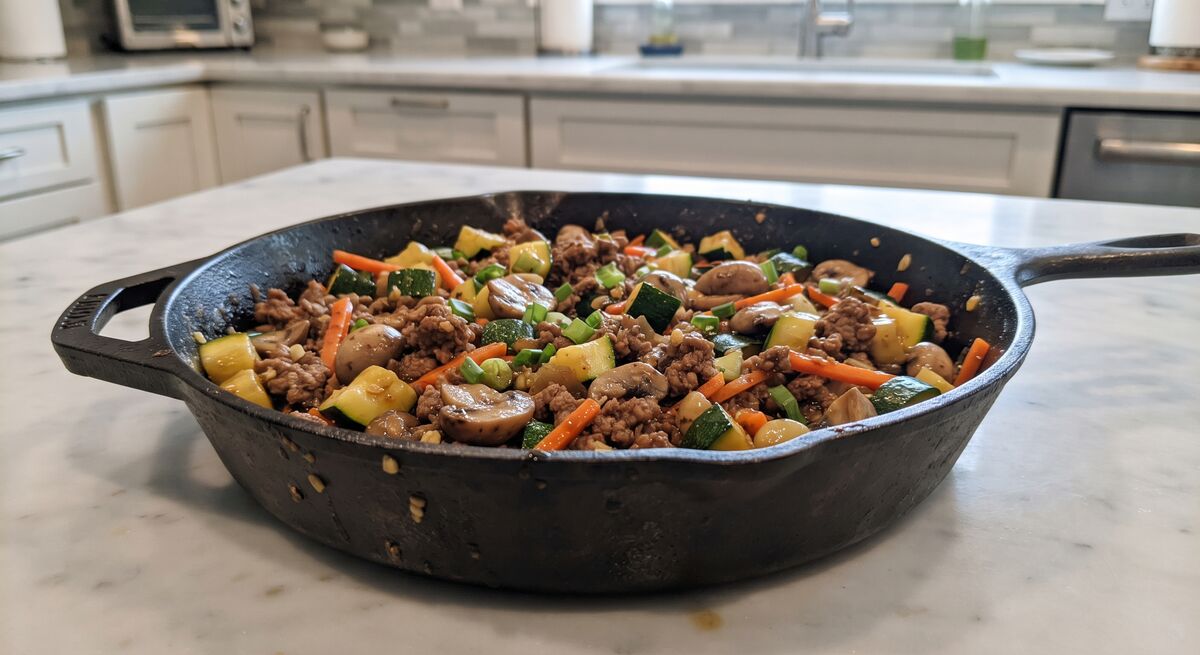
Ground Beef Stir Fry

Easy Homemade Sesame Chicken
Bibimbap (Korean Rice Bowl)
Korean Bulgogi Beef Stir Fry